How to Set Up Your Wallet Using Trézor.io/Start®
Getting started with a crypto hardware wallet might sound overwhelming — but it doesn’t have to be. With Trézor.io/Start®, setting up your Trezor device is smooth, safe, and surprisingly simple. Whether you’re new to crypto or just switching wallets, this step-by-step guide will walk you through the process, so you can protect your digital assets with confidence.
What Is Trézor.io/Start®?
Trézor.io/Start® is the official setup website for all Trezor hardware wallets. When you unbox your new device, it prompts you to visit this page. Why? Because this is the only secure and verified way to initialize your wallet.
At Trézor.io/Start®, you’ll:
- Download the Trezor Suite desktop app
- Get clear setup instructions for your specific device model
- Install the latest firmware
- Learn how to safely back up your wallet
It’s designed to ensure your wallet is configured correctly and securely — without relying on third-party guides that might be unsafe or outdated.
Why Use a Hardware Wallet Like Trezor?
Unlike mobile or browser-based wallets, a hardware wallet stores your private keys offline. That means hackers, malware, or phishing attempts can’t touch your funds — even if your computer is compromised.
With Trezor, you hold the keys to your crypto, literally. You’re the only one who can approve transactions using the physical device, adding an extra layer of security to your digital life.
Step-by-Step: Setting Up via Trézor.io/Start®
Let’s break it down — here’s exactly what to expect when you visit Trézor.io/Start®.
1. Connect Your Device
Once you plug in your Trezor (Model One or Model T), you’ll be prompted to go to Trézor.io/Start®. Choose your device model from the options provided.
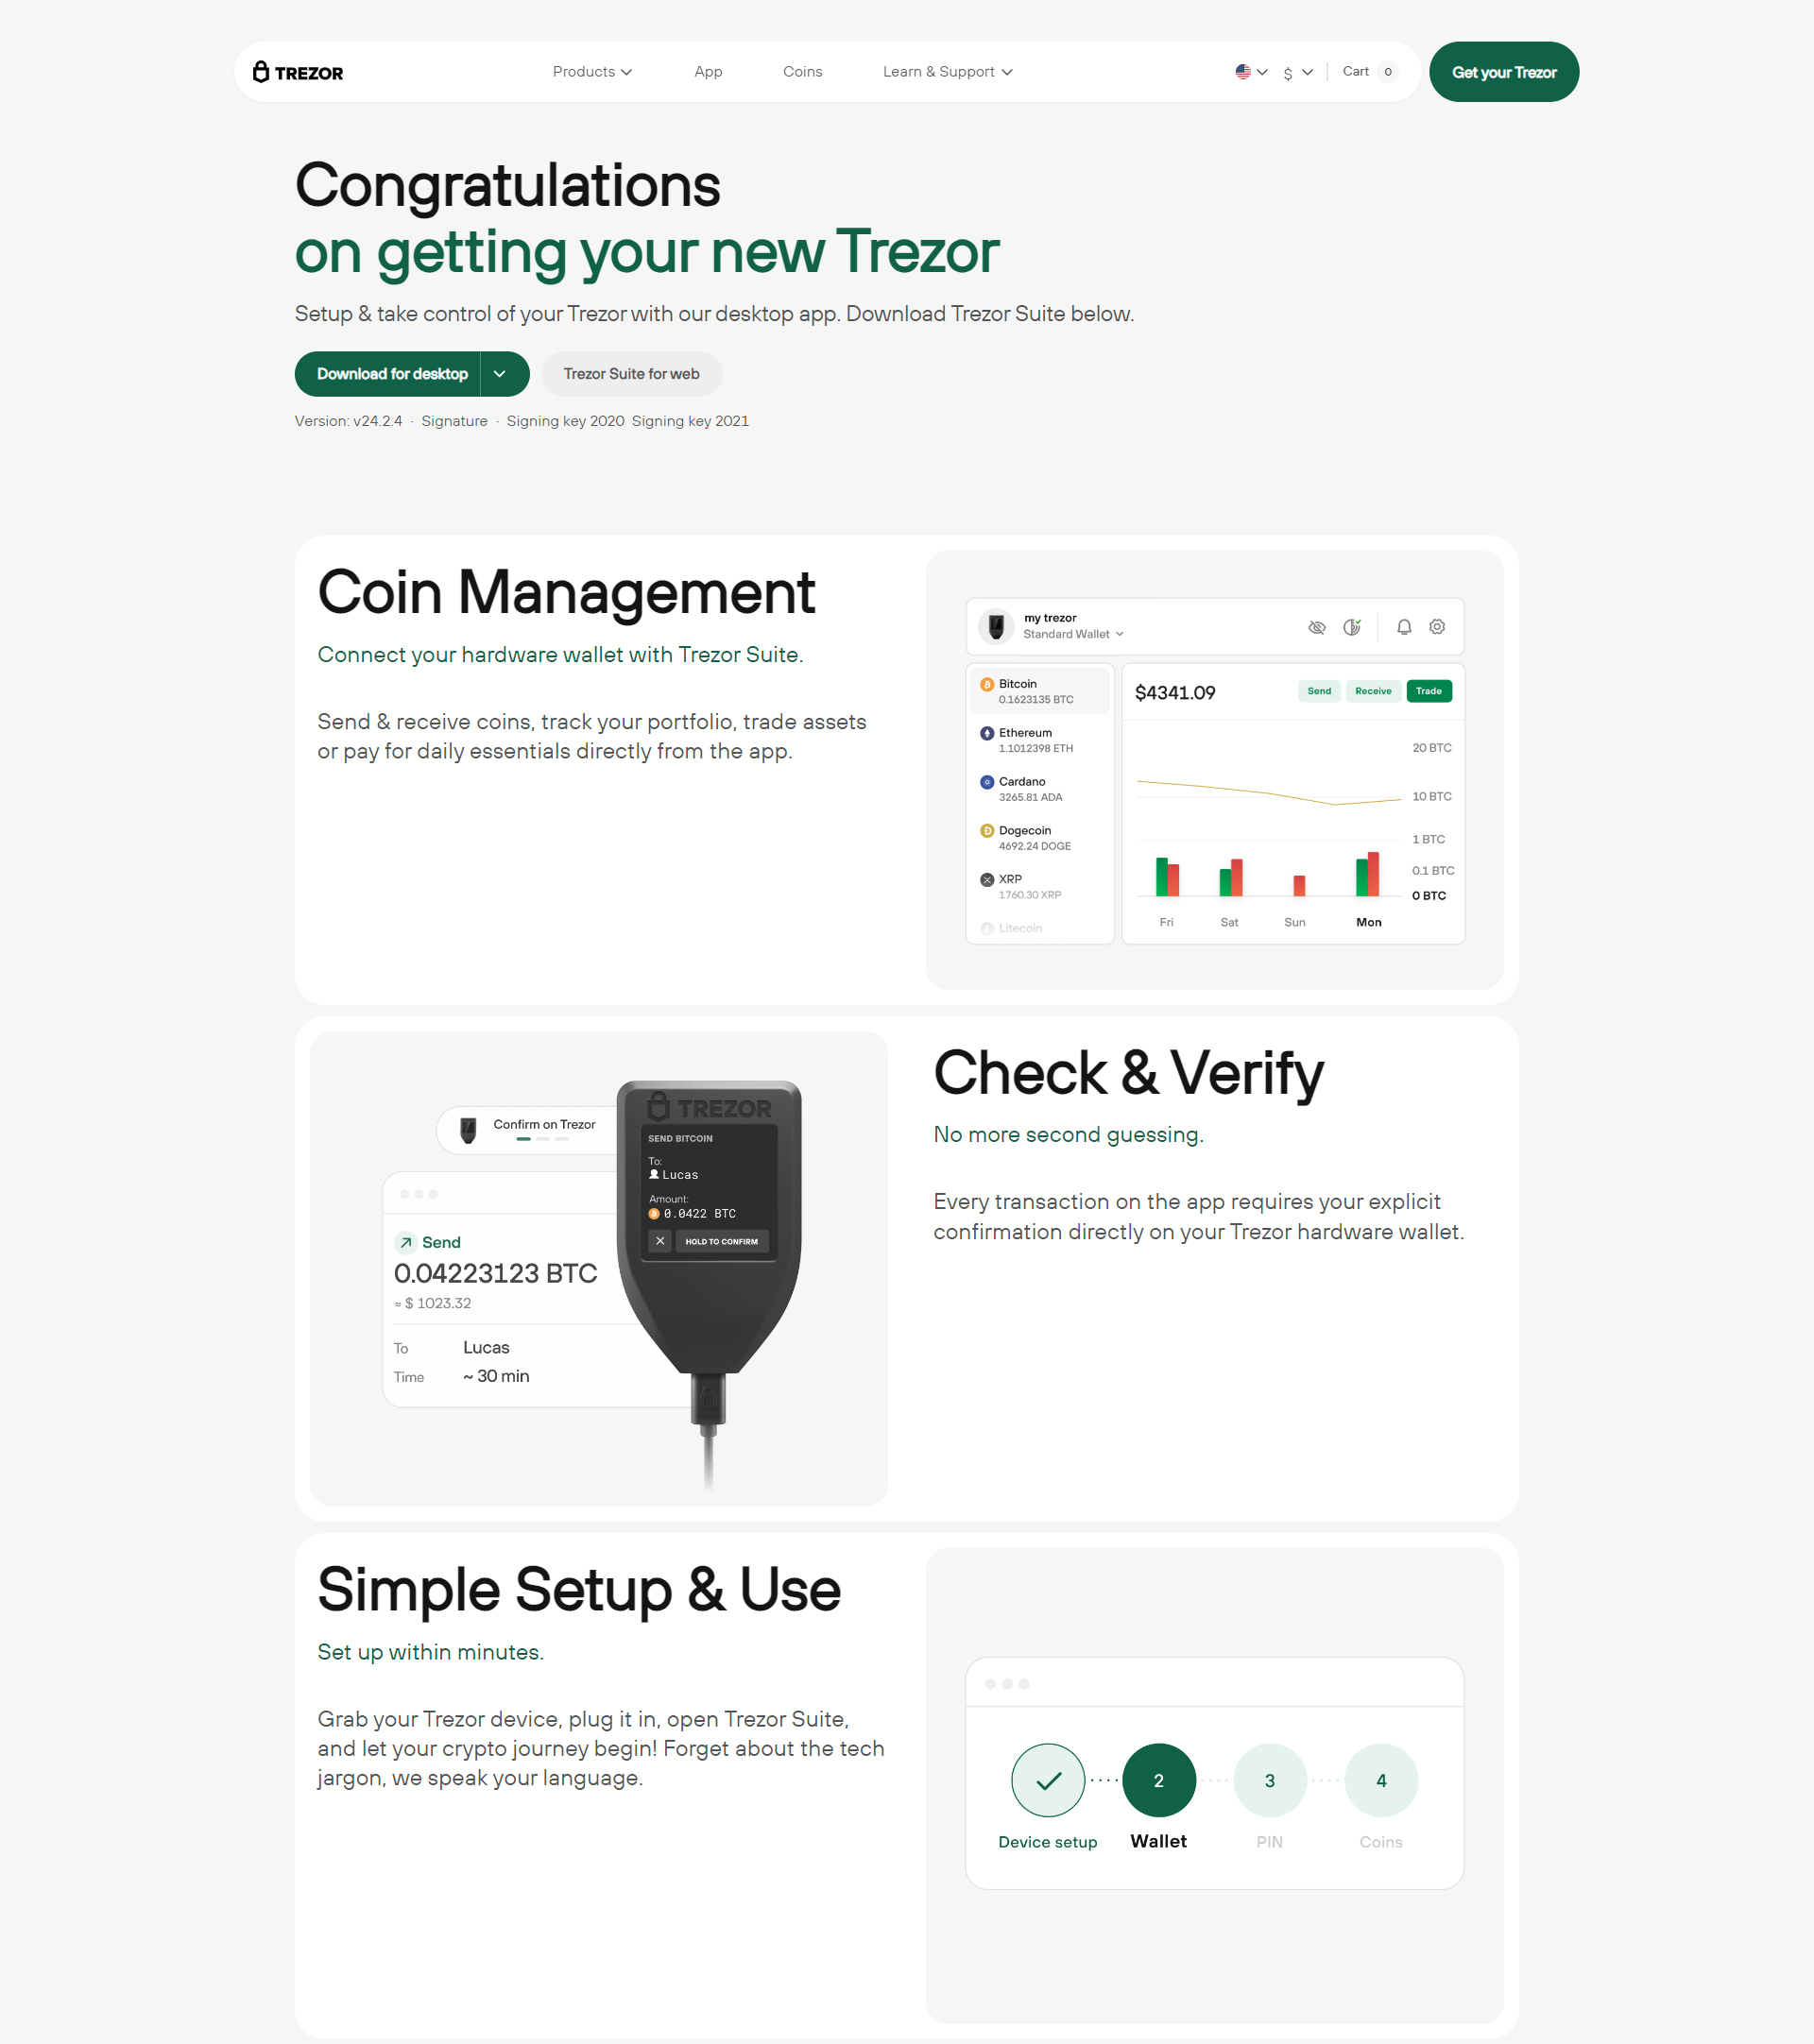
2. Install Trezor Suite
Trezor Suite is the official desktop app for managing your wallet. You can:
- View balances and transaction history
- Send and receive crypto
- Trade or exchange coins
- Add multiple accounts and coins
Click your operating system (Windows, macOS, or Linux) to download and install the latest version.
3. Install Firmware
When you first connect a brand-new Trezor, it may not have firmware preloaded. The Suite will prompt you to install the latest official version. This process only takes a few minutes.
Tip: Only use firmware from Trezor — never install from unofficial sources.
4. Create Your Wallet
Now you’ll create a new wallet. Trezor will generate a 12- or 24-word recovery seed, which acts as a backup in case your device is lost or damaged.
- Write it down on the provided card or a secure offline sheet.
- Never store it on your phone, computer, or cloud.
Your recovery seed is the single most important element of your crypto security. If someone gets access to it, they can control your wallet — so keep it safe.
5. Verify Your Seed and Set a PIN
Once written, the device will ask you to confirm each word of your recovery seed. Then, you’ll set a PIN — your day-to-day key to access the wallet.
You’re now ready to use your Trezor wallet!
What Can You Do After Setup?
With your wallet fully configured, you can:
- Send/receive coins
- Manage multiple cryptocurrencies
- Track your portfolio
- Swap or exchange coins through integrated partners
- Enable additional security features like passphrase protection
Trezor supports hundreds of coins, including Bitcoin, Ethereum, Litecoin, Cardano, and many ERC-20 tokens.
Stay Safe: Best Practices
Here are a few tips to keep your wallet and funds secure long-term:
- Bookmark Trézor.io/Start® and only download software from official sources.
- Keep your recovery seed offline and private.
- Use a strong PIN, and consider enabling the optional passphrase.
- Avoid connecting your Trezor to public or shared computers.
Trezor is built for maximum security — but good habits are essential to staying protected.
Frequently Asked Questions (FAQ)
1. What is Trézor.io/Start®?
It’s the official setup portal for all Trezor devices. It helps you install Trezor Suite, install firmware, and configure your wallet properly. Always begin your setup here to ensure security.
2. Can I recover my wallet without the seed?
No — the recovery seed is essential. If your device is lost, damaged, or stolen, the only way to restore access is by entering your seed into a new Trezor or compatible wallet.
3. Is Trezor compatible with mobile phones?
Trezor works primarily with desktop systems through Trezor Suite. Limited functionality may be available on Android phones using third-party apps, but it’s not officially supported for full access.
4. How do I update my firmware later?
Open Trezor Suite while your device is connected. If a new firmware version is available, it will prompt you to update. Make sure your recovery seed is backed up before updating.
5. What’s the difference between PIN and passphrase?
- PIN: A simple number code required to unlock your device.
- Passphrase: An optional feature that adds a custom layer of encryption to your wallet. Each passphrase creates a different hidden wallet on the same device.
6. Can I use one Trezor for multiple wallets?
Yes! With passphrases and multiple accounts, one device can manage several wallets securely — even for different users.
Final Thoughts
Crypto is about freedom and control — and with Trezor, you’re taking ownership of both. By starting at Trézor.io/Start®, you’re ensuring your wallet is set up safely and correctly from the very beginning.
Take your time, follow the instructions, and protect your seed. Once you’re up and running, managing your crypto becomes simple, intuitive, and secure.
Ready to begin? Head to 👉 Trézor.io/Start® and take the first step toward true crypto ownership.